You want to write a blog sweet! Let's get started.
A few things you'll need;
- Patience
- This post
- A GitHub account (you'll be prompted for this, and it's free)
- A Netlify account (you'll be prompted for this, and it's free)
Press this button
This will fork this codebase onto your user account on GitHub, and then connect it to Netlify to build your blog.
Connect GitHub and Netlify
You'll be prompted with this screen. Go ahead and connect these accounts.
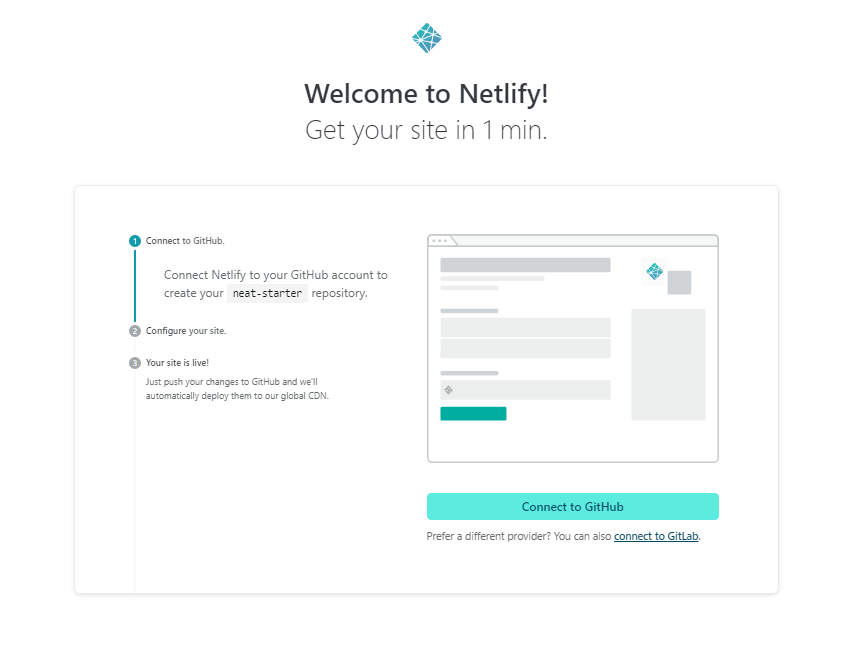
Press "Save & Deploy"
This will create a repository on your GitHub account. It will initially be public, but you can change that to be private, that will be at the end here.

Play a game of match
Seriously, after you've saved and deploy, this will take ~ 2-3 minutes. You'll land on this page. Go ahead and click on the Deploy, then the Play game on the top right.
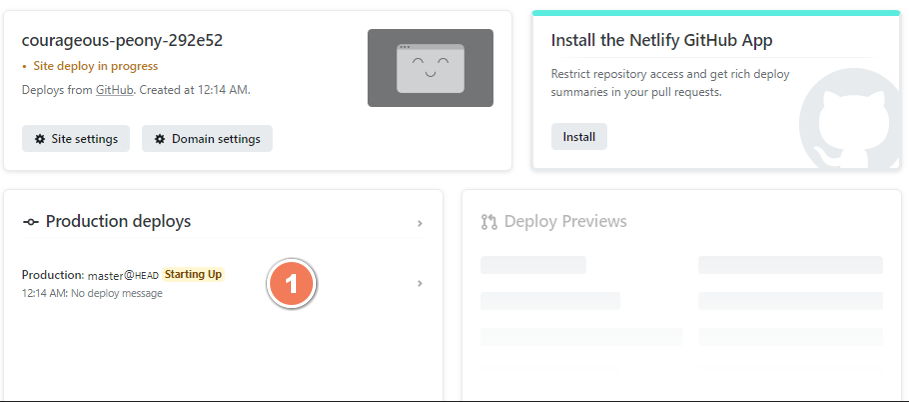
Once you've finished your game, let's continue.
Check your email for an invite from Netlify
You should have gotten an email inviting you to have access to your blog. Mine looked like this;
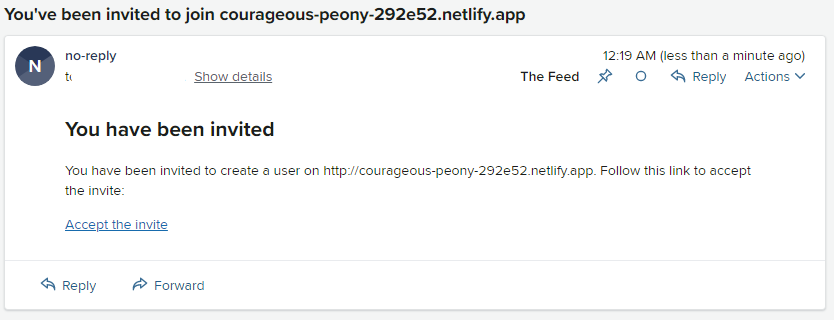
Click the "Accept the invite" link. The site will ask you for a password. Make note of this. Technically you're good to go but let's do two more things.
- Update your site name
- Make your repo private
Go back to Netlify and update your site's name (optional)
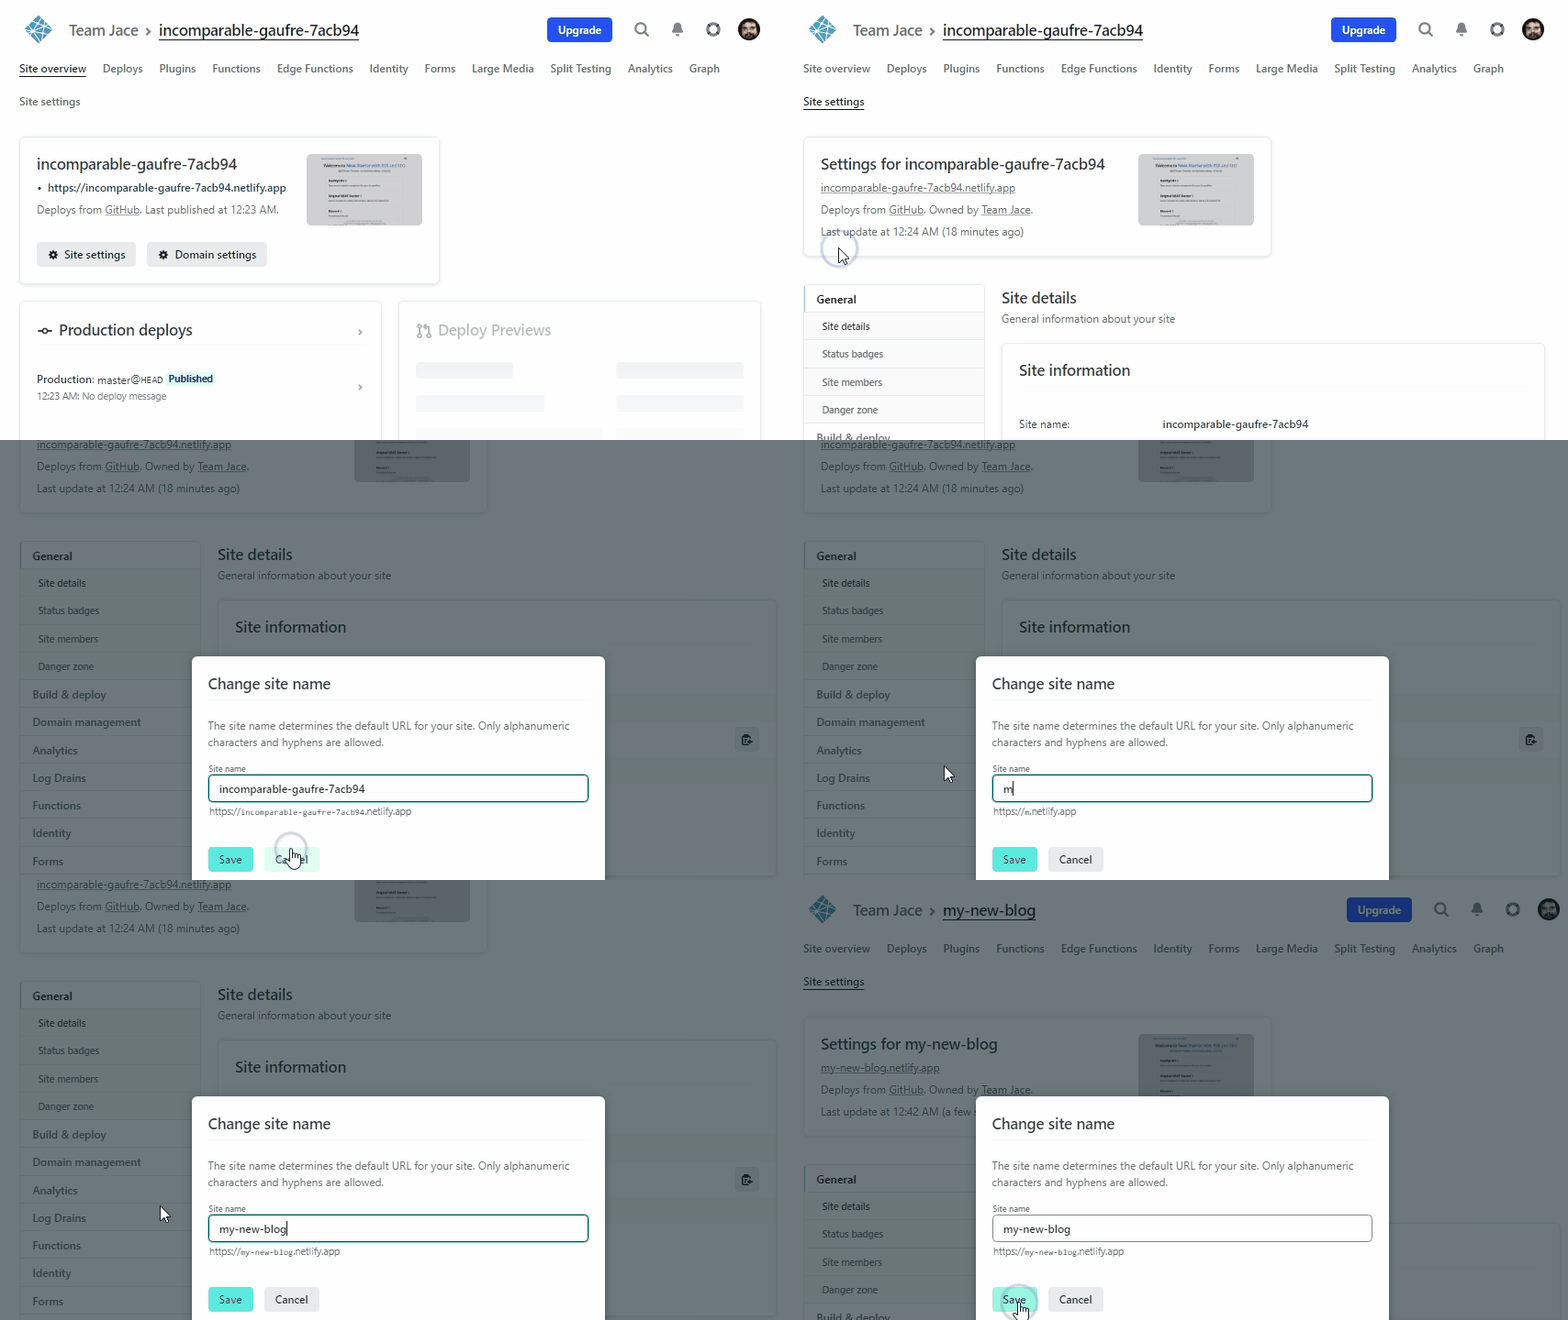
Once on the site, click "Site Settings" then "Change site name". Choose a site name. You can buy a domain and use that too, here's the docs on that. Check that out later if you're interested.
Make your repo private (optional)
To make your repository private, go to https://github.com/yourusername/neat-starter, then click Settings, scroll to the bottom, there is a red highlighted area of options. Click "Change visibility", choose "Make private" it'll ask you to type out your username/repo. Click I understand. Done.
Let's make a post
Go back to your blog at the new site name you gave it. Add `/admin` to url and it will ask you for your email and password. Log in. You'll land on something like this.
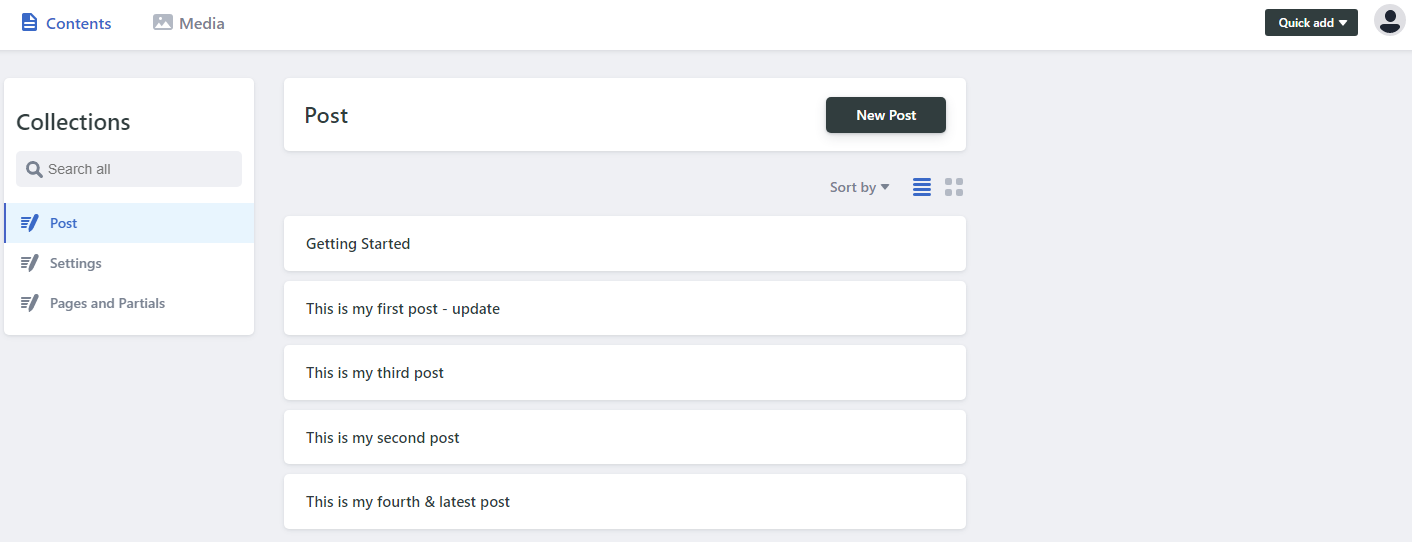
There's three sections.
On the left is the Collections. Here we have all the collections of things you can change without any code.
- Post is the lists of posts and is where you land by default.
- Settings has the details about the site, you'll want to update the "Meta Settings" there for your branding and public URL.
- Pages and Partials controls most of the actual templating code. You shouldn't need this, not initially.

